Replace Engine Gasket
Replacing a head-gasket can seem like a daunting task, but with the right tools and a little know-how, it can be done at home. Here’s a step-by-step guide on how to replace a head gaskets.

Tools required:
- Socket set with a variety of sockets and extensions
- Torque wrench
- Gasket scraper or razor blade
- Engine degreaser or brake cleaner
- New head gasket
- New valve cover gasket
- New intake and exhaust manifold-gaskets
- New head bolts (if necessary)
- RTV silicone gasket maker
- A repair manual specific to your vehicle
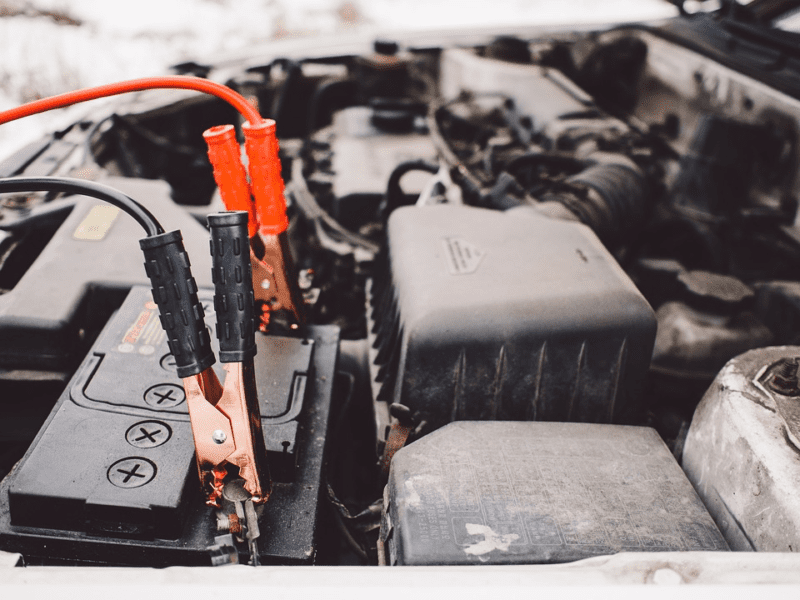
Step 1: Disconnect the battery Before you start working on your engine, it’s important to disconnect the battery to prevent any electrical mishaps.

Step 2: Drain the coolant Remove the radiator cap and drain the coolant from the radiator and engine block.
Step 3: Remove the intake and exhaust manifolds Using a socket set, remove the bolts connecting the intake and exhaust manifolds to the cylinder head.

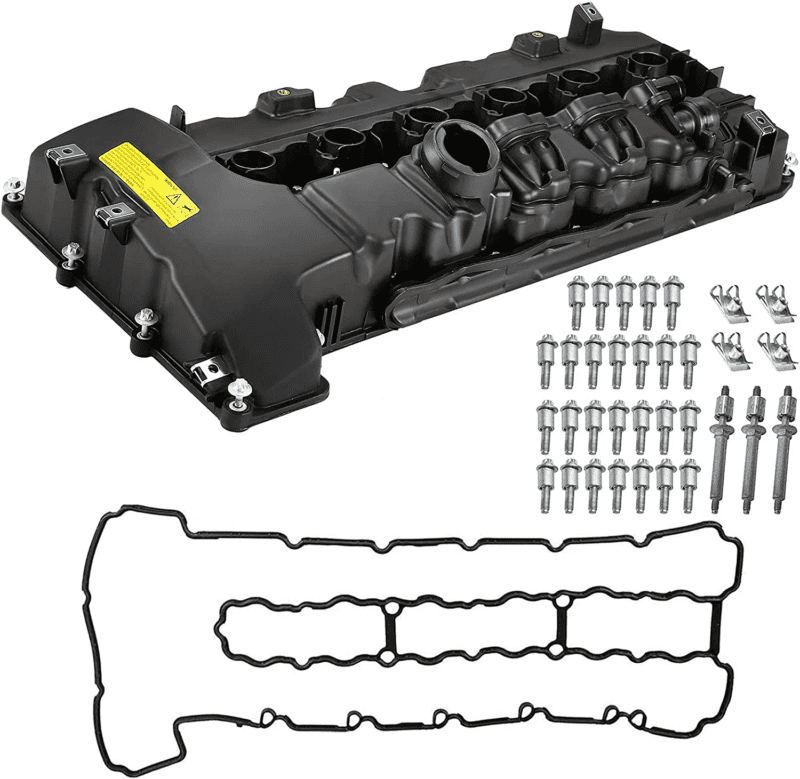
Step 4: Remove the valve cover Using a socket set, remove the bolts holding the valve cover in place. Once the bolts are removed, carefully lift the valve cover off the engine.

Step 5: Remove the cylinder head bolts Using a socket set, remove the bolts holding the cylinder head in place. The bolts will need to be removed in a specific sequence, which can be found in your vehicle’s repair manual.
Step 6: Remove the cylinder head With the bolts removed, carefully lift the cylinder head off the engine. Be sure to have a friend help you lift the head, as it can be heavy and awkward to handle on your own.
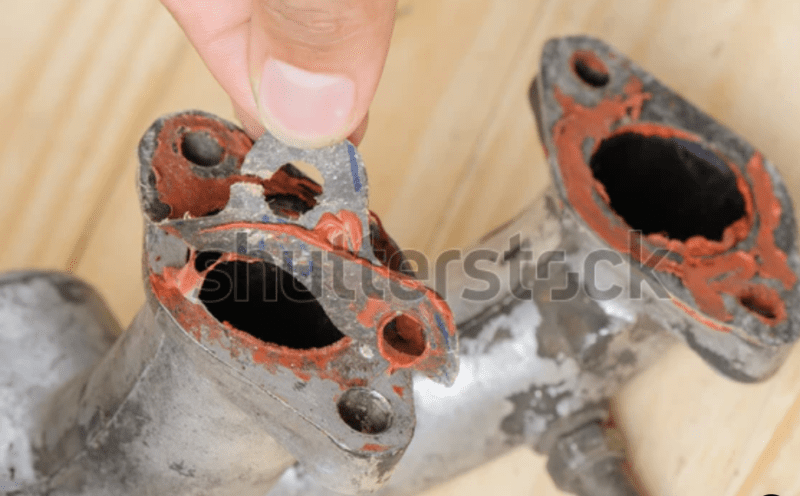
Step 7: Remove the old seal Using a seal scraper or razor blade, carefully remove the old head gasket and any material remaining on the cylinder head and engine block.
Step 8: Clean the surfaces Using an engine degreaser or brake cleaner, thoroughly clean the surfaces where the new gasket will be placed. Make sure all debris and gasket material is removed.
Step 9: Install the new Seal Carefully place the new head gasket onto the engine block, aligning it with the bolt holes. Be sure to follow the manufacturer’s instructions for the correct placement of the gas seal.
Step 10: Replace the cylinder head Carefully lower the cylinder head back onto the engine block, aligning it with the new gasket. Replace the cylinder head bolts in the correct sequence and torque them to the manufacturer’s specifications.

Step 11: Reinstall the valve cover, intake and exhaust manifolds Reinstall the valve cover, intake and exhaust manifolds, and any other components that were removed.
Step 12: Refill the coolant in the radiator and engine block. Check for any leaks and top off the coolant as necessary.
Step 13: Reconnect the battery Reconnect the battery and start the engine. Check for any leaks and monitor the engine temperature to ensure everything is working properly.
Replacing a head seal can be a time-consuming and challenging task, but with patience and the right tools, it can be done at home. Always consult your vehicle’s repair manual and manufacturer’s specifications to ensure proper installation.

1 thought on “How to replace engine Gasket in easiest”